There’s a new, edgy, funky hair colour craze that’s hit the town and it’s Oil-Slick Hair! Sounds different, we know, but we promise you that you’re going to want it so don’t waste any more time, get on-board with the latest hair colour fashion.
First, you need to get to grips with the basics and understand what Oil-Slick Hair colour means. We’re here to take you through the fine points with the lowdown:
Contents
What Is Oil-Slick Hair Color?
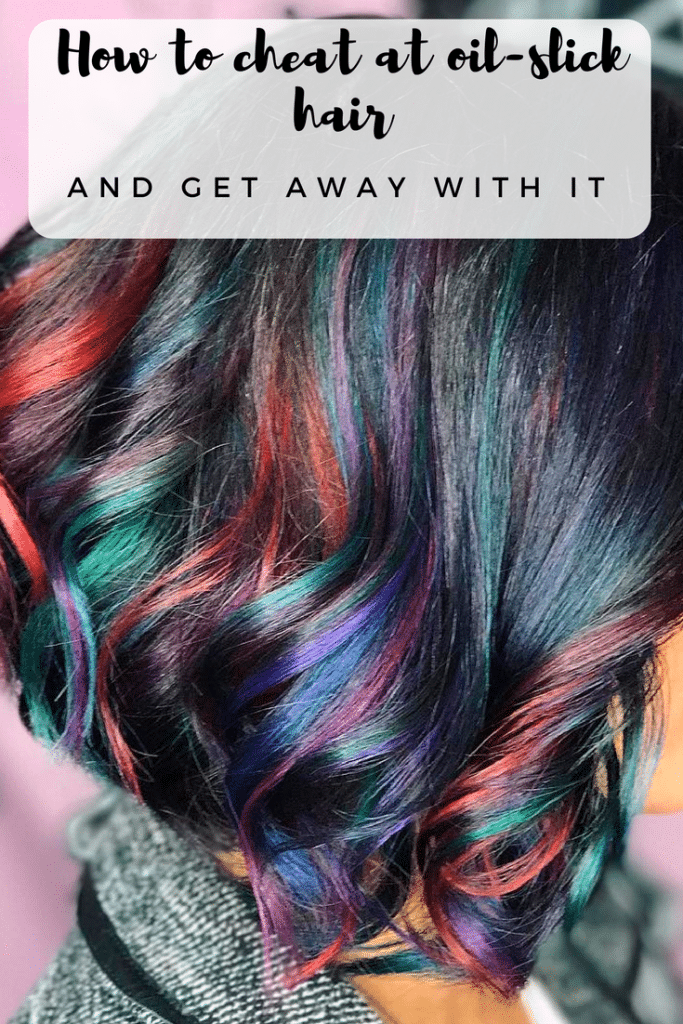
Oil-Slick Hair was developed by New York celebrity colourist Aura Friedman and is so named because it gives hair that extra-special sheen with a rainbow of colours effect – rather like a slick of oil. There’s no “grease” attached to it, it’s just ultra-glossy and has an almost peacock colour appearance. It uses deep layers of blue, purple and green to achieve a myriad of rainbow colours. The result is hair that shimmers in bright lighting but darkens in dark lighting.
We would say that it’s best on dark hair. To create it, your colourist needs to blend cool colours with a hint of warmth; that means greens, purples and dark blues. This type of technique brings a long-lasting colour because as your hair grows, any root is less detectable and it takes longer to fade than light tones.
1. Inspiration: Oil slick hair color for dark hair
Stunning Jewelled Tones Using Pravana VIVIDS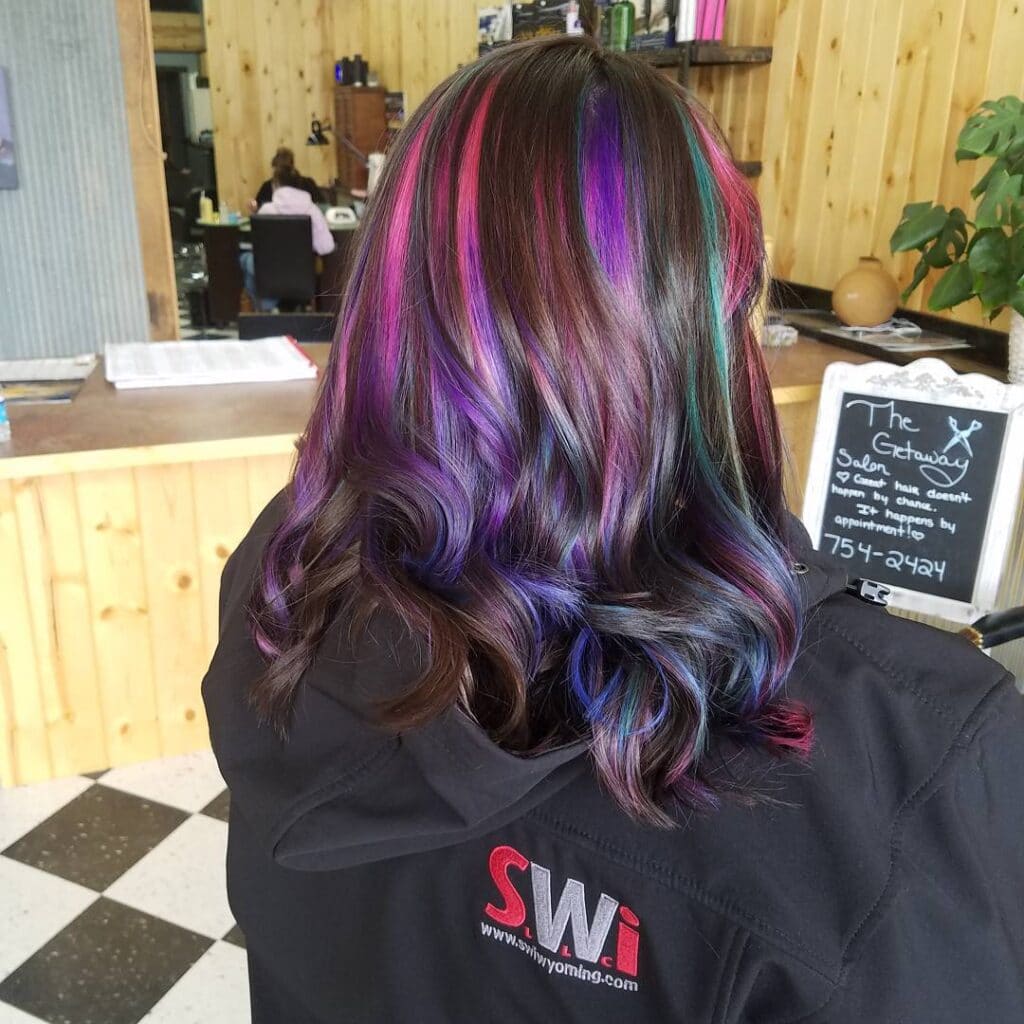
The Oil-Slick Effect On Short Hair– Before and After – Simply Stunning!
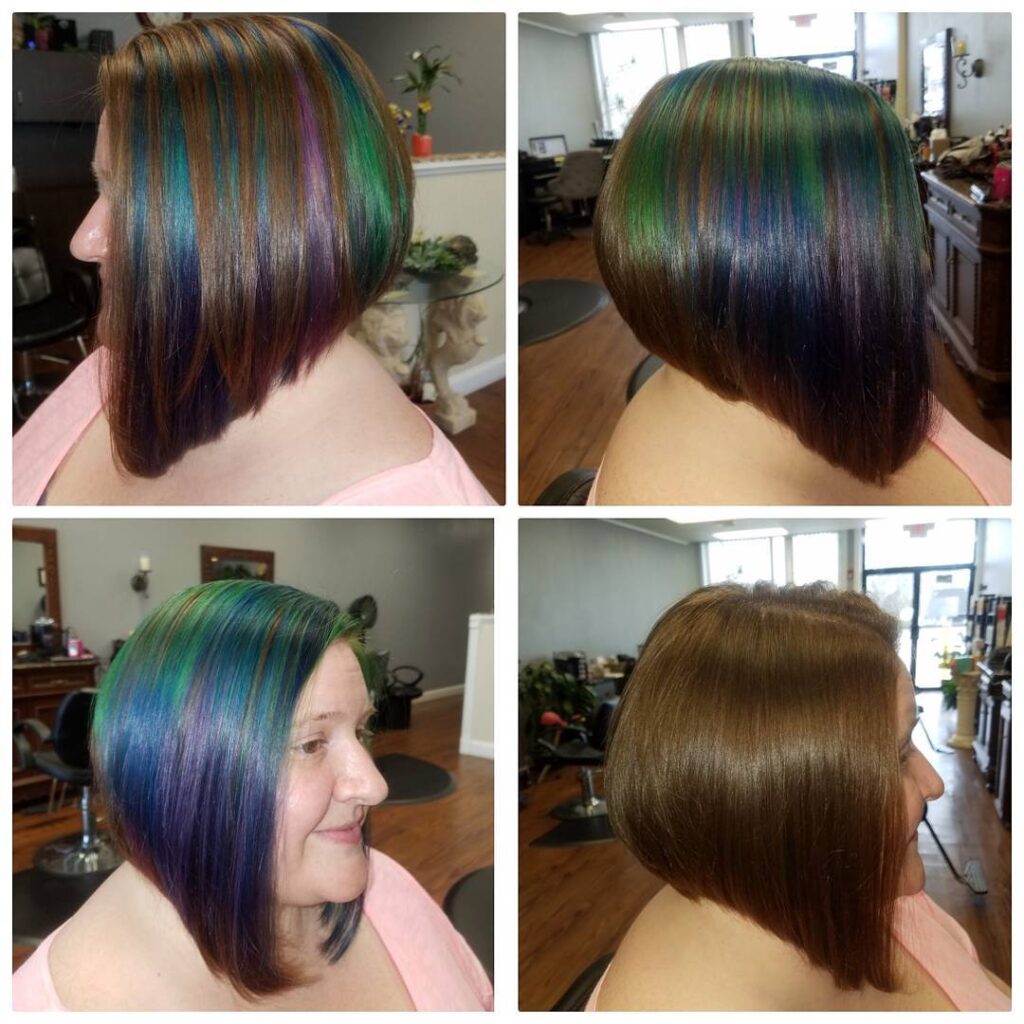 Subtle Oil-Slick Medium Dark Hair
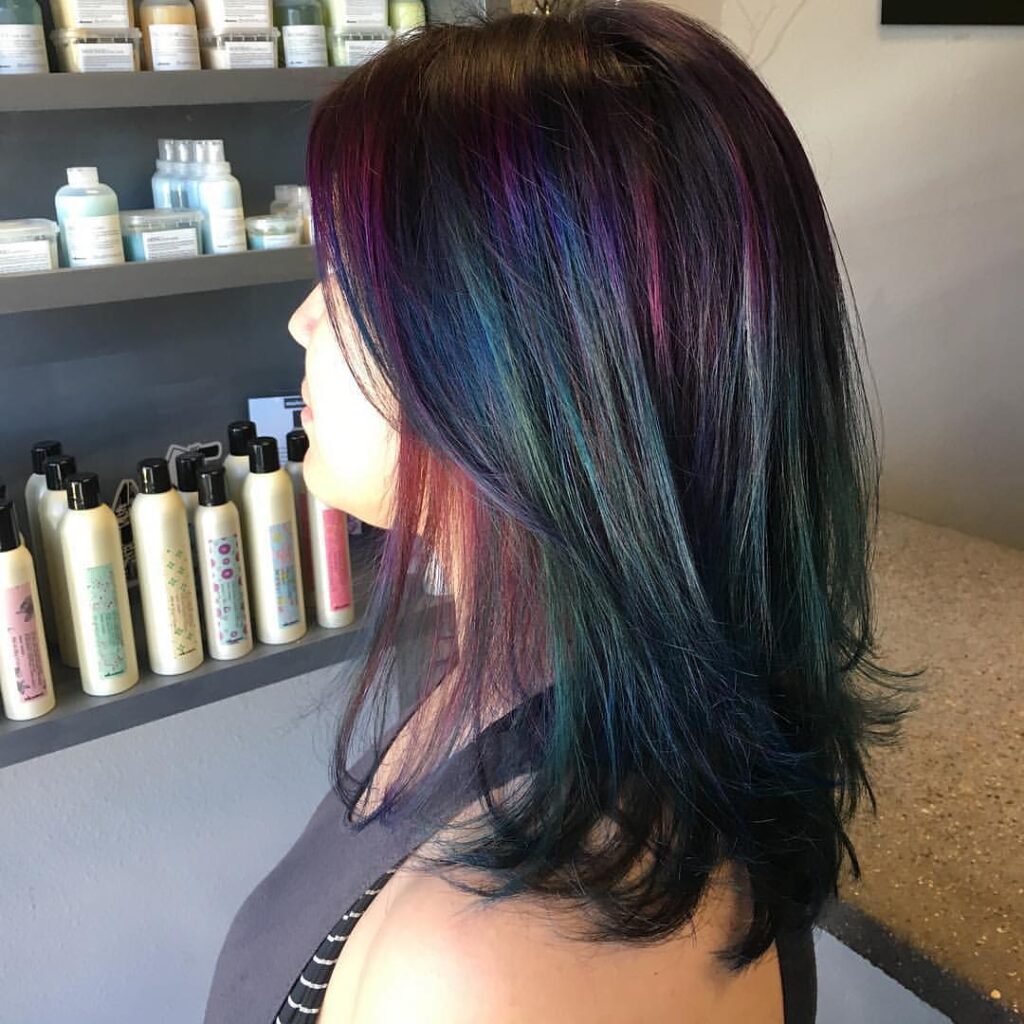
Lively Oil-Slick Colours Lift Dark Hair and Give It A Rainbow-Effect
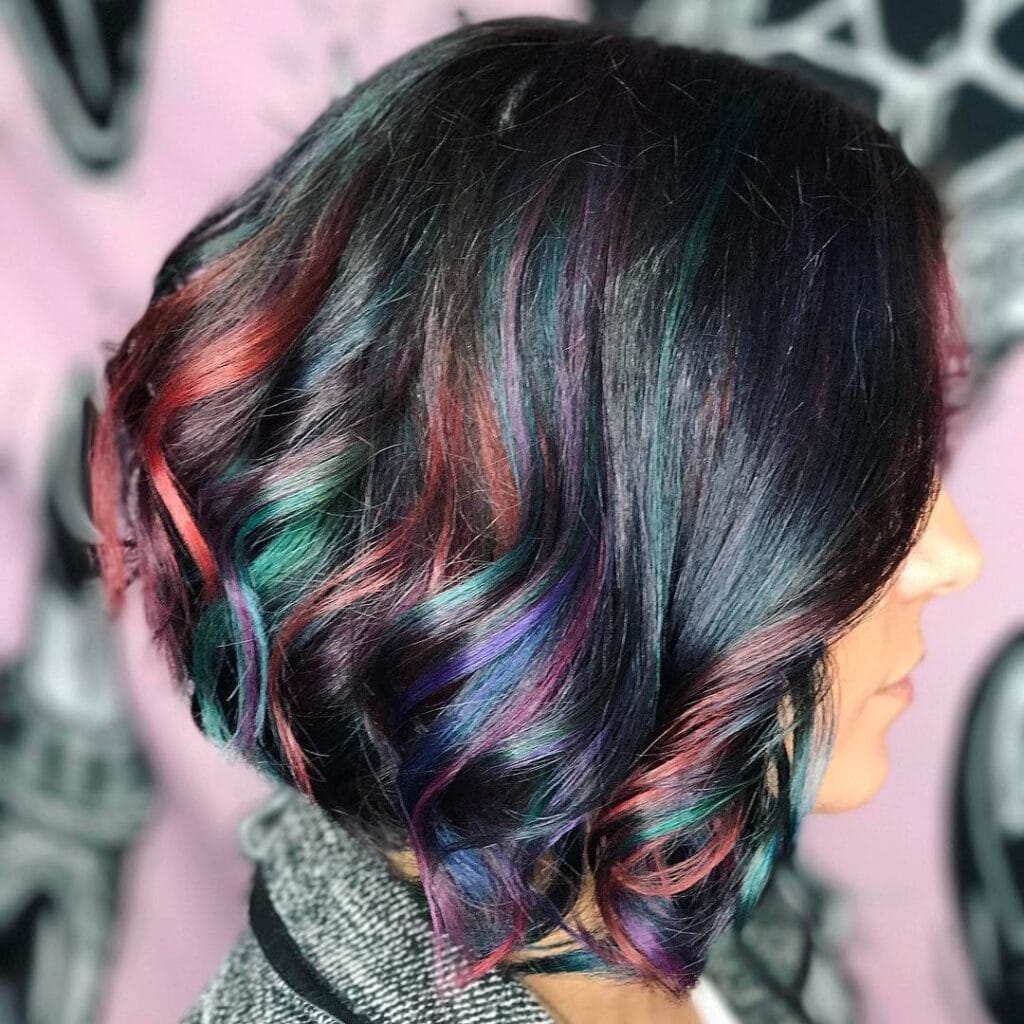
Oil-Slick With Predominantly Blue and Purple Effect 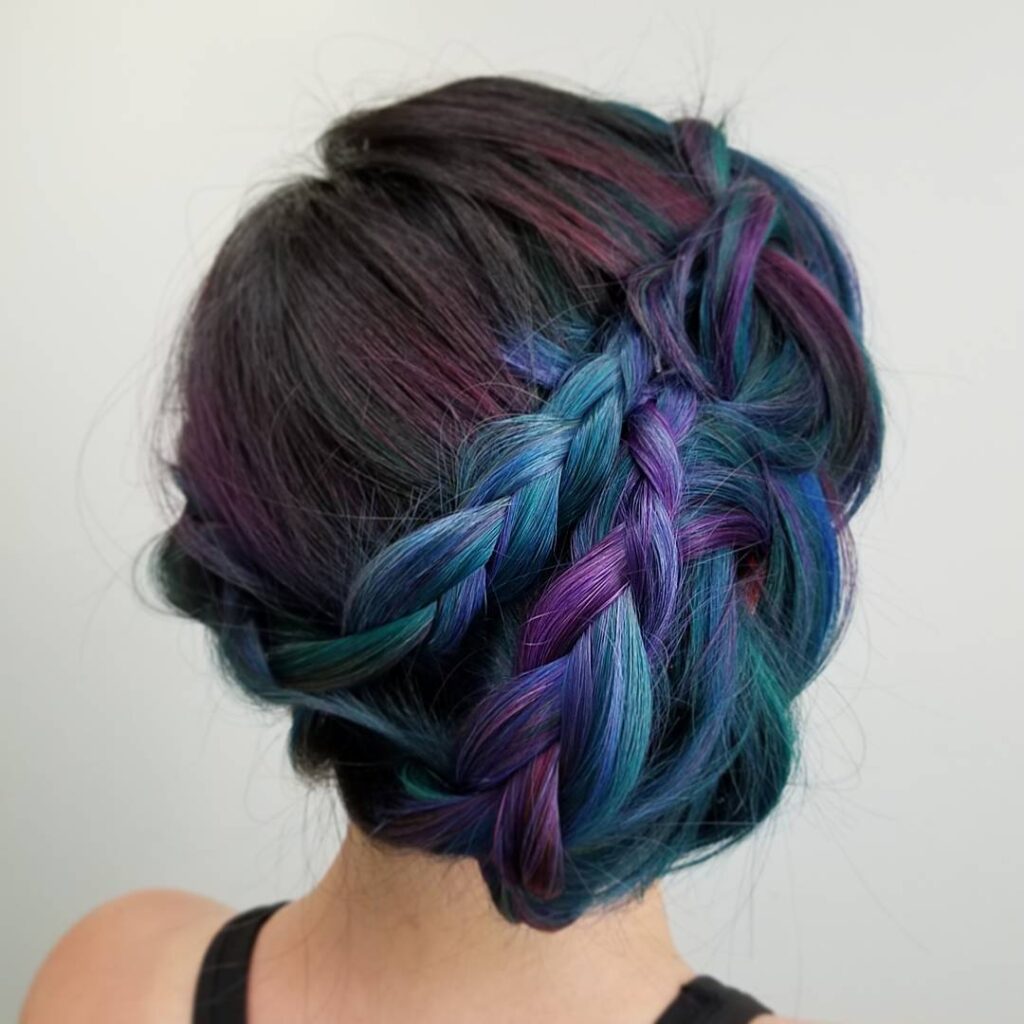
2. Inspiration: oil slick hair color for redheads
Hints Of Purple & Green Enhance Redheads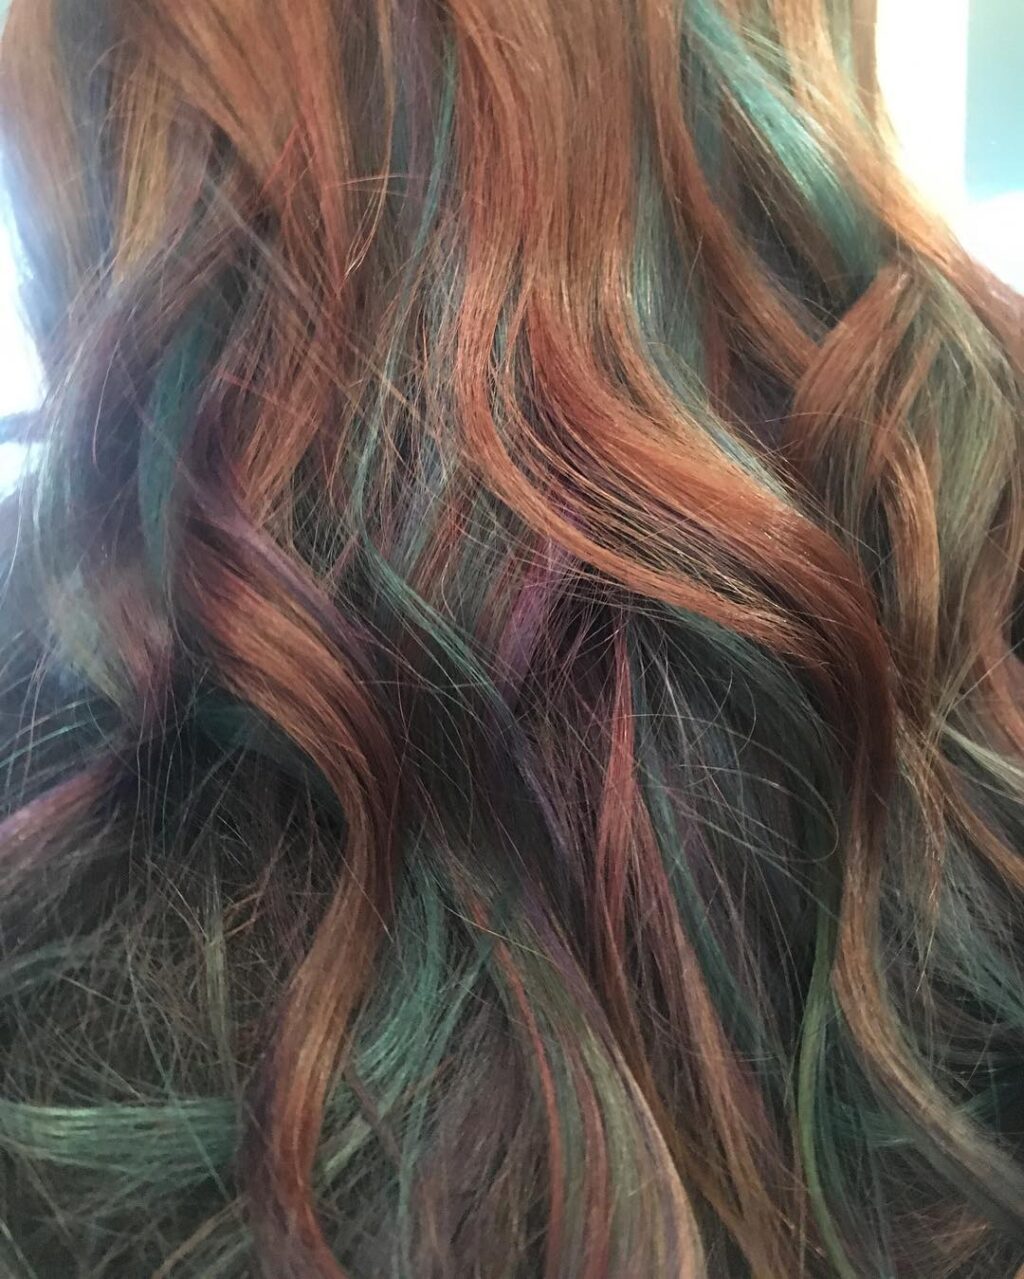
Dramatic Purple For Head-Turning Oil-Slick Beauty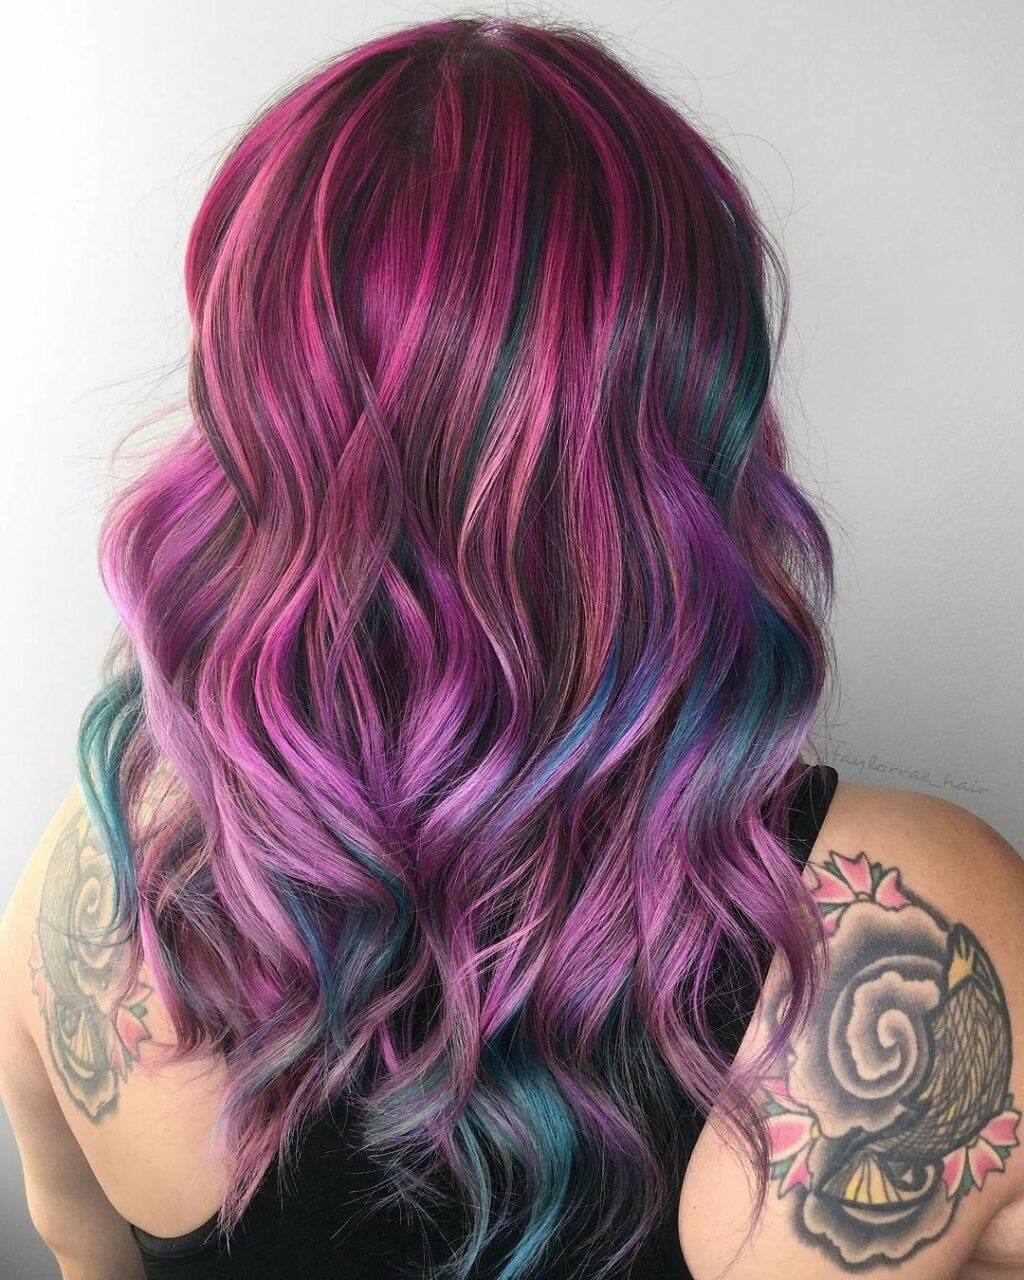
Just A Dash Of Oil-Slick Colour Adds Vibrancy & Shine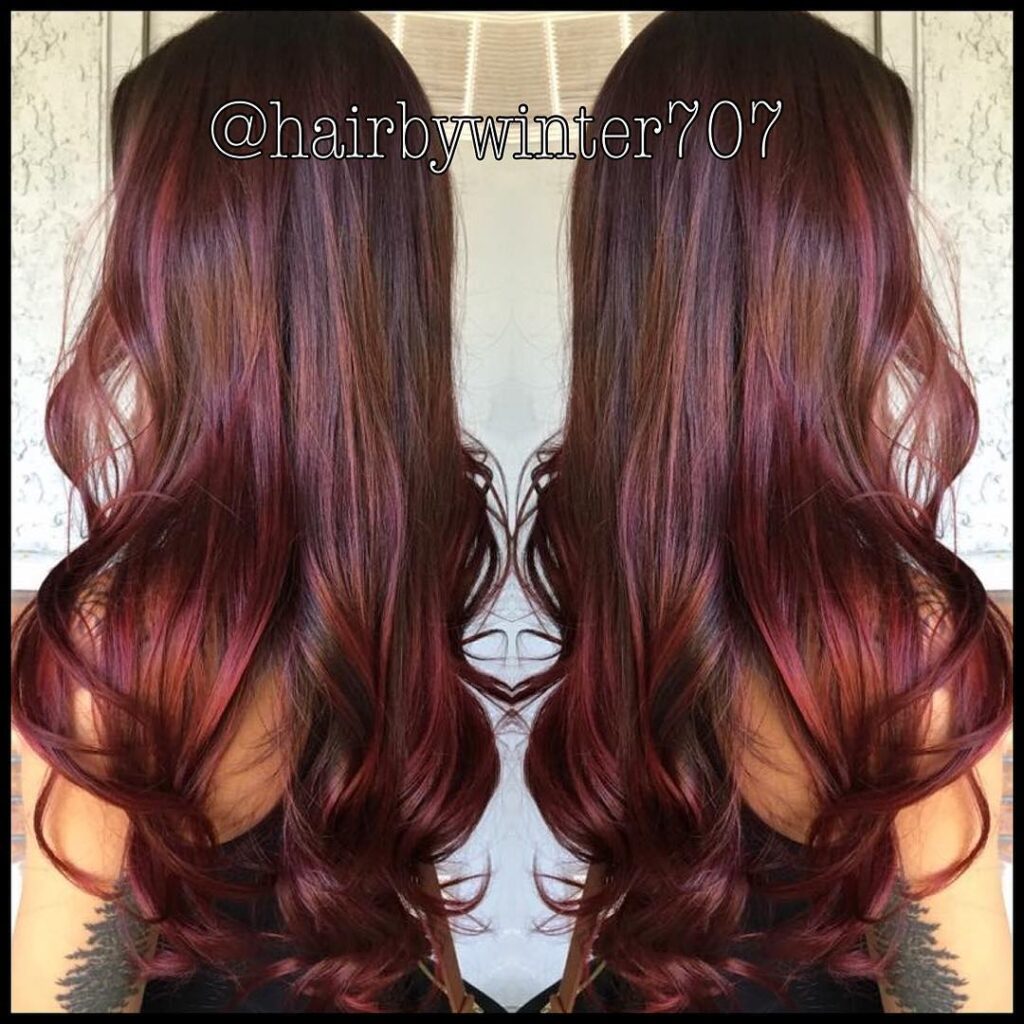
3. Inspiration: oil slick hair for blondes
Cool Blue Livens Up Blonde Hair
Oil-Slick Hair Is Pretty In Pink 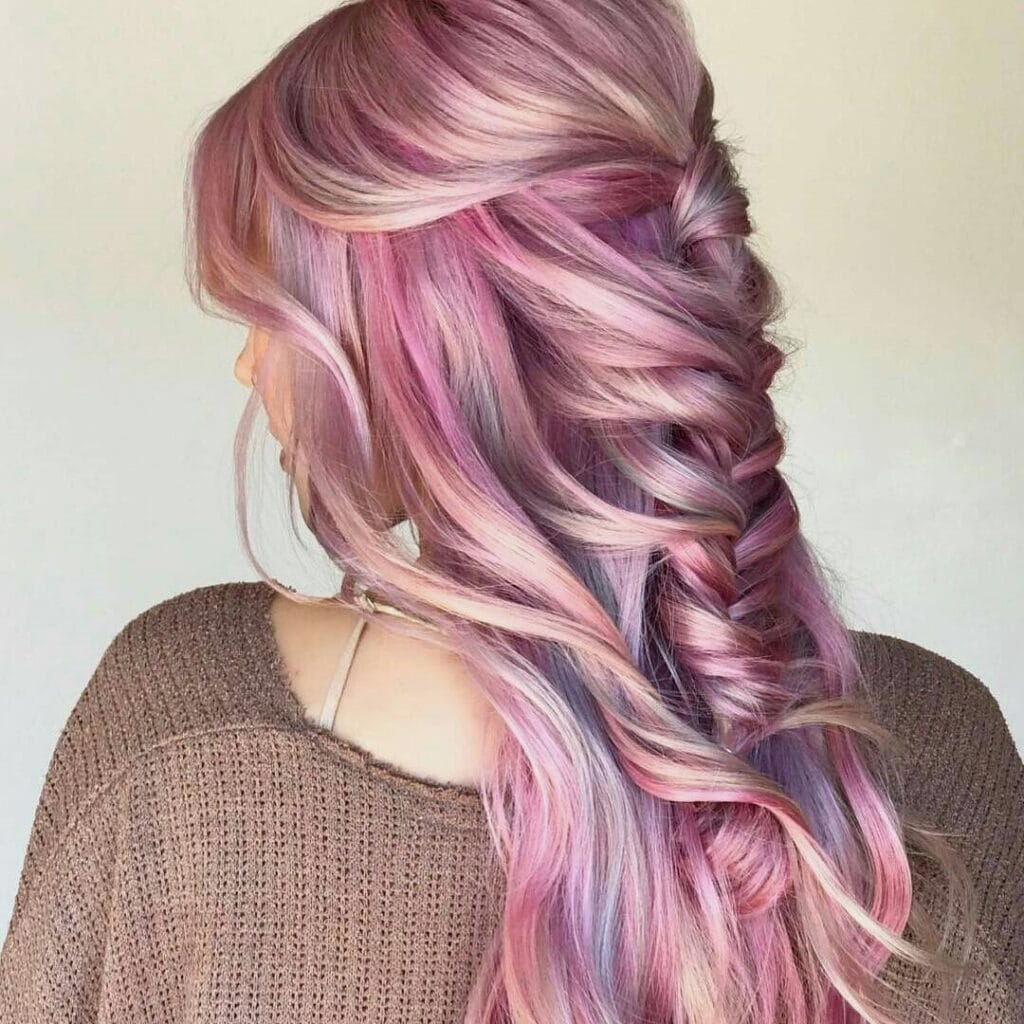
Blondes Have More Fun With Oil-Slick Pink & Yellow Colours 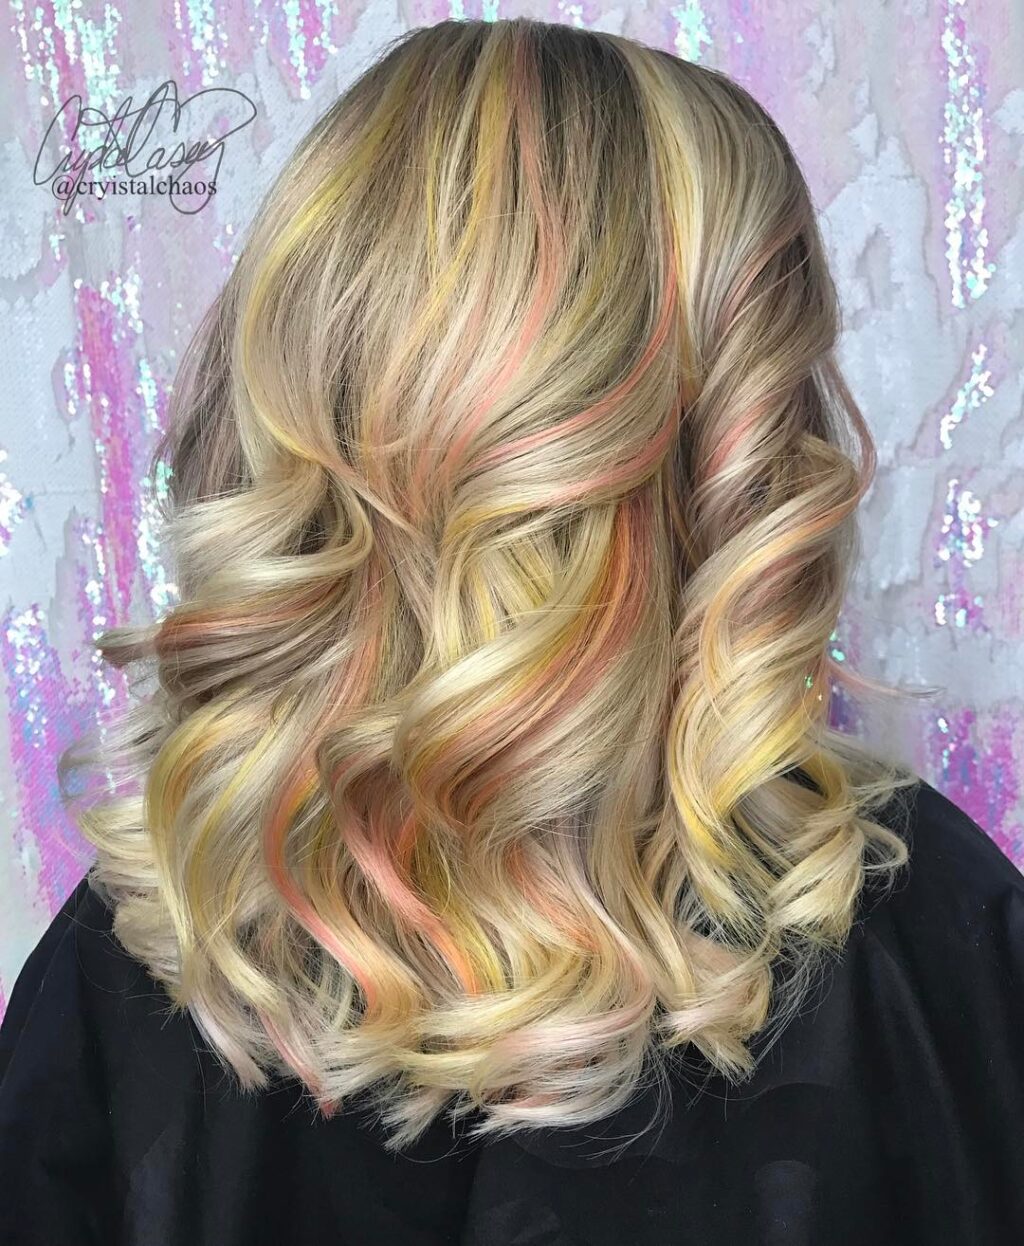 No Need To Symmetrically Apply – Anything Goes
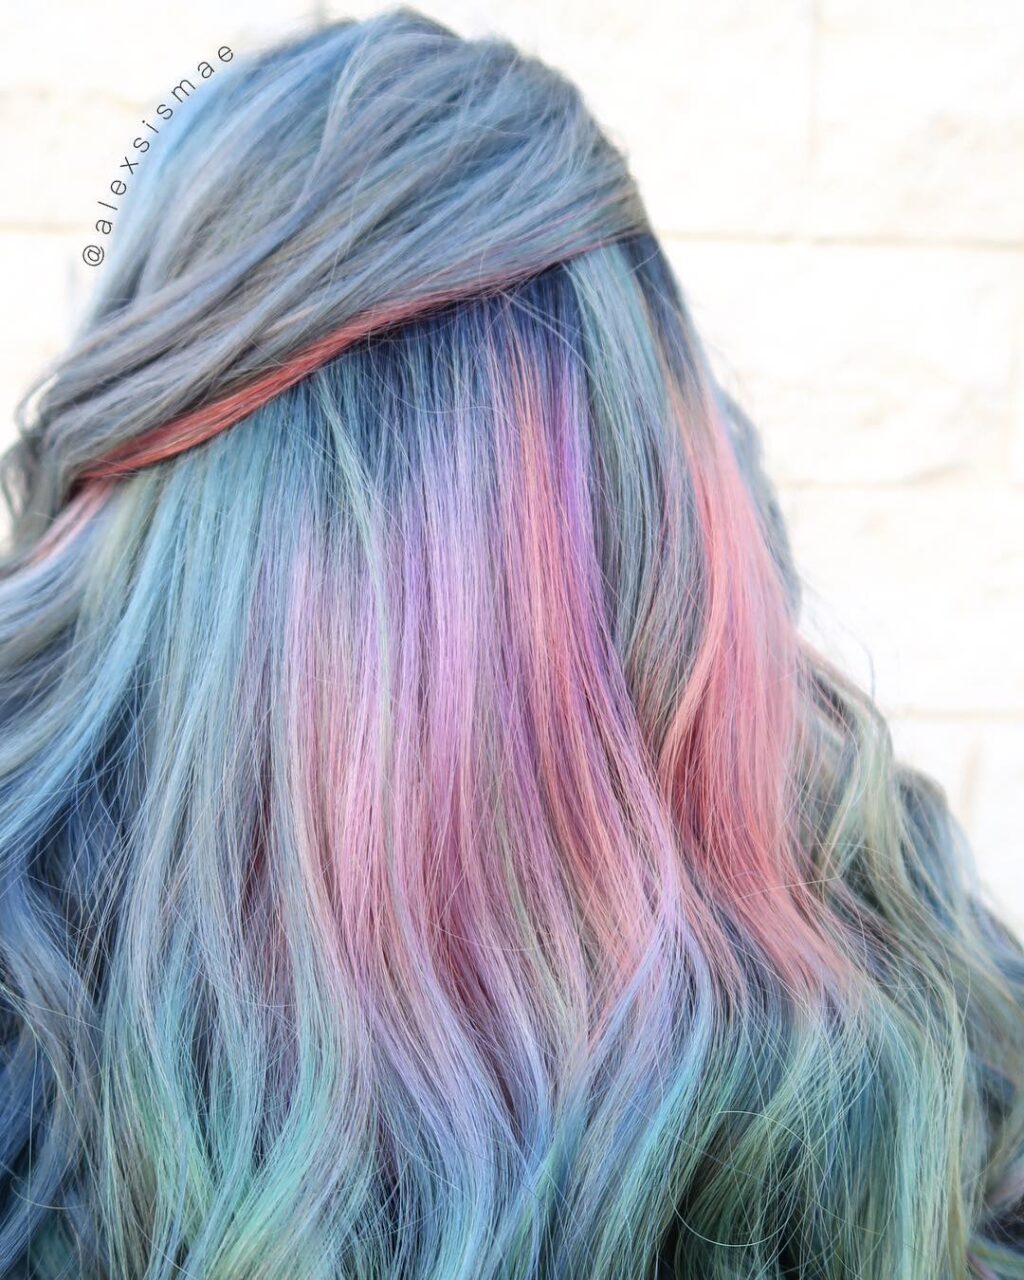 Focussing On Purple Tones For This Icy Blonde
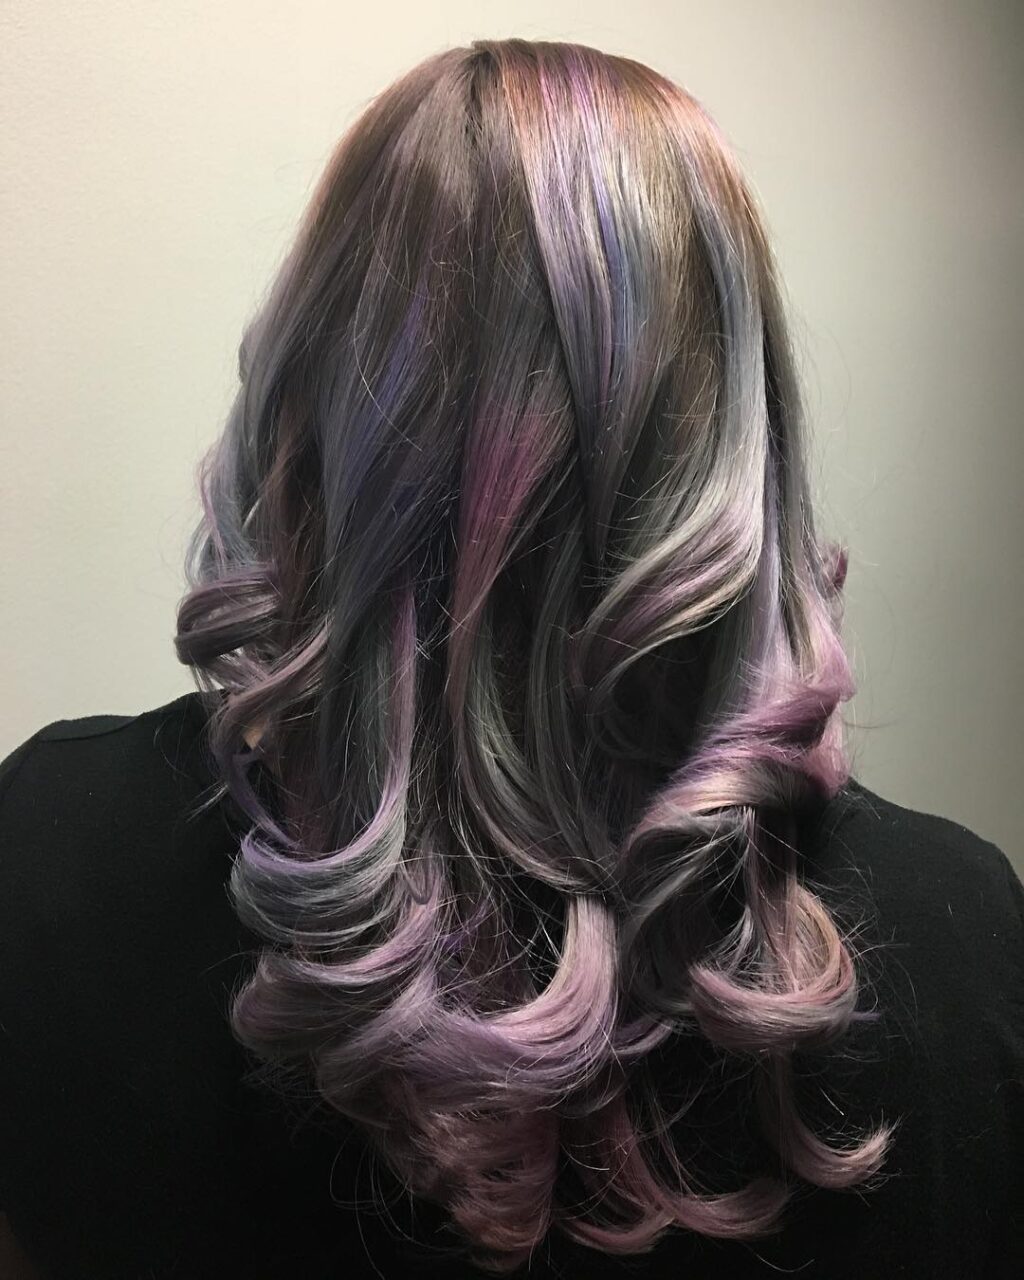
Images source: Instagram
Oil-Slick Hair Color Technique
How to do oil slick hair without bleach
If you want to know what hair colours to use to achieve oil slick hair we highly recommend the Pravana VIVIDS collection which is designed to produce incredible results. We love this type of colour because it’s non-damaging as it doesn’t use any bleach. Here are the formulas you should use in order to achieve the best Oil-Slick look:
- Formula 1 Purples: 10g VIVIDS amethyst + 20g VIVIDS clear + 4” VIVIDS BLACK
- Formula 2 Mid Blue: 30g PASTELS BLISSFUL BLUE + 3” VIVIDS BLACK
- Formula 3 Dark Blue: 10g VIVIDS BLUE TOPAZ + 20g VIVIDS CLEAR + 1” VIVIDS BLACK
- Formula 4 Yellows: 14g VIVIDS YELLOW + 15g LOCKED-IN YELLOW
- Formula 5 Fuchsia: 22.5g VIVIDS WILD ORCHID + 7.5g VIVIDS MAGENTA
- Formula 6 Pink: VIVIDS PINK


Products from Amazon.co.uk
What Should I Expect To Pay For Oil-Slick Hair?
The process does take longer than regular tint or highlights, you should allow approximately 4.5 to 5 hours to have Oil-Slick applied to your hair although it does last longer than other colouring techniques. At London’s Blue Mango Salon in SE16 it costs approximately £300 to achieve the look but the salon recommends a consultation first as the price is dependent on hair length and texture.
Oil slick hair DIY at home
Bearing the price in mind, you could always opt to try out this peacock technique at home. Follow our tips to get super-glossy Oil Slick hair in the comfort of your own home!
- First, lighten the hair
Use a wide, flat colouring brush. Take 2 inch sections and saturate the first section from mid-length to the ends at the roots, feather the colour. Use light brush strokes to apply the colour - If you already have bleach in your hair you need to concentrate on spreading the colour quite thickly over the area
With each layer, cover with cling film so you build up a covering of film that locks the colour in - Allow hair to process at room temperature for an hour
- If the ends look too dark, apply a bleach solution to the ends for approximately ten minutes after processing. Use developer with bleach powder, warm water and shampoo. Lather it up from mid-length downwards and rinse thoroughly
- Then if you want to, tone the hair with a neutral base and leave it in for five minutes to neutralise the hair so the colours aren’t too vibrant
- Follow with washing and conditioning, rinse the hair and blow dry it
- Now section out hair again into four sections and clip each section. Using the PRAVANA VIVIDS collection apply alternate colours to each section with a brush from mid-length down and feather at the root, it’s good to try and keep it symmetrical if you can but if you aren’t exact it doesn’t matter. Wrap hair in tin foil or cover with a layer of cling-film
- Then sit for 40 minutes at room temperature to allow it to process
- Finally rinse out your hair in cool water and wash hair as normal, using lots of conditioner
- Blow dry as normal
Products from Amazon.co.uk
We’d love to know if you tried it at home and how your hair looked…




Leave a Reply